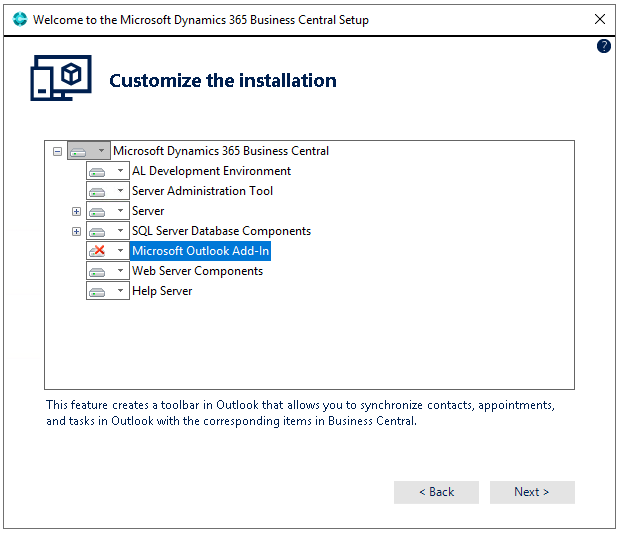
In order to customize or extend Business Central you need the AL Language Extension and Visual Studio code. To get started with AL follow these steps:
Download Visual Studio Code and install it (I used version 1.44). After downloading, run the setup, Next, Next, Next, Next, Install and VS Code is installed in a few seconds.
Download AL Language Extension by clicking on Install. In the popup screen now click on Continue. Now click Allow to open the al file in VS Code.
Tip: on the BC Application Server the extension is also available but VS Code won’t update it automatically. A big advantage of downloading the extension is that VS Code will automatically update it if there are updates.

VS Code is now opened with the Extension you selected. Now click the green Install button.

After installing select AL as the File Icon theme:

Now that this extension is installed you can get started. Basic functionalities at your disposal:
- IntelliSense (Ctrl+Space) for editing, syntax highlighting, formatting
- Type AL:Go! in the command palette (Ctrl+Shift+P)
- Support for snippets to easily create objects like code units, pages, etc.
- Support for finding all references (Shift+F12) to list all instances of a specific symbol
- Added native support for using HTTP and JSON types to access Azure functions and other Web Services
- Use Ctrl+F5 to deploy to the current development instance and use F5 to deploy and debug
- Use Ctrl+Alt+F5 to perform rapid application development (RAD) and use Alt+F5 to perform RAD and debugging
More information about developing in AL can be found on https://docs.microsoft.com/en-us/dynamics365/business-central/dev-itpro/