In this series, I will share my Azure experience and journey. Because in my opinion, it’s quite a lot of information when you are just starting. There is a lot of knowledge out there on the internet but where do you need to start and what are the first steps if you’ve purchased an Azure subscription? I first got a little bit lost in this so that’s why I decided to share my journey in order to make you help.
In this series, I will try to share my knowledge and experience to help you. My view is to discuss only a small piece or one specific feature to make things modular for better understanding and usage of knowledge. I try to explain matters from a ‘from-scratch’ view to be as clear as possible in my posts and explanation.
It’s always a good idea to first try to follow some basic training on Microsoft Learn for example. The URL is https://docs.microsoft.com/en-US/learn/ There are free excellent courses with even some labs with no costs and no Azure subscription required. These labs can be performed in the Azure portal in a sandbox to get you acquainted.
Next or if you have not studied anything yet, you need yourself to get a subscription. In my case, I got one provided by my employer. If this is not possible you can signup on portal.azure.com to start a free trial. After the trial, you can then use some Azure services for 12 months without costs but sometimes with some limitations though.
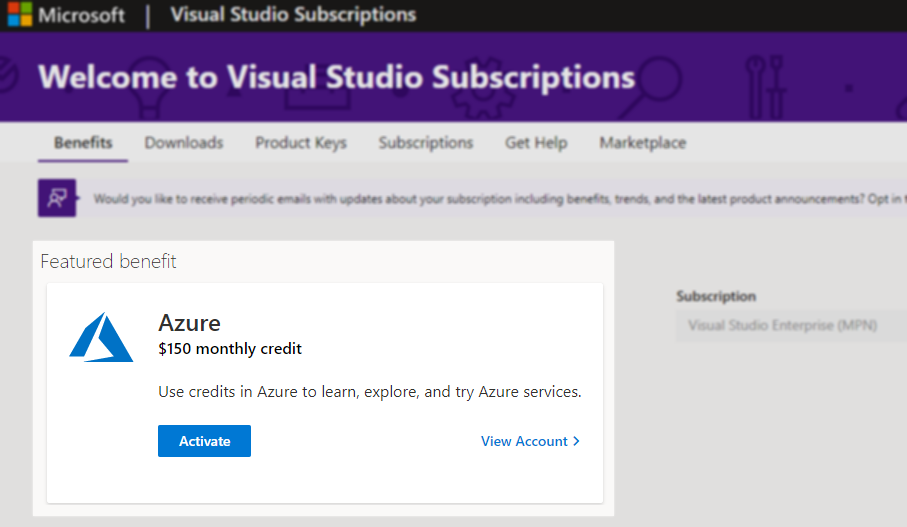
If you have a Visual Studio Enterprise subscription you can manage your monthly Azure credit and subscription by going to https://my.visualstudio.com On this website I activated my Azure monthly credit:
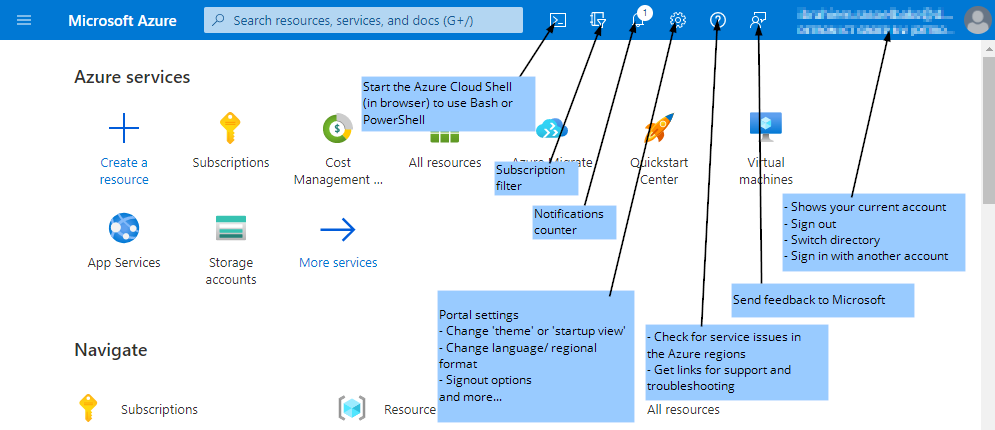
Now that I should have some ‘credit’ what to do next? Let’s go to https://portal.azure.com/ and let’s just explore what all these buttons are in the top bar:
That’s it for now. I like to keep things simple and brief. This way you also don’t need to spend hours reading extensive posts. Until the next post…. stay safe!

