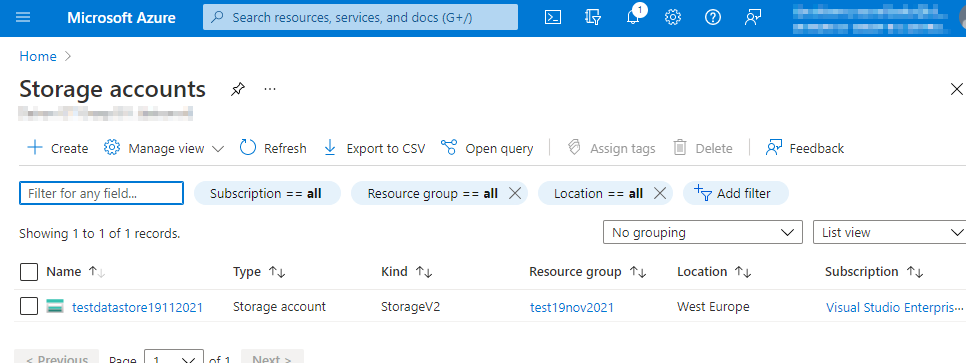
In this second post of the series I will discuss how to store documents on my local machine in Azure. First thing to do is to create an Azure storage account.
Create a storage account. This can be accomplished in the Azure portal for example. When creating a storage account you need to specify basic information like:

So more information about the basic screen:
| Subscription | Select your subscription. This can be a free, Visual Studio Enterprise or some other type of subscription. |
| Resource group | Select an existing or create a new resource group. |
| Storage account name | This must be a unique name. |
| Region | Choose an Azure region. Costs can vary depending on the region you select. |
| Performance | Standard or Premium. Standard will suffice for most scenarios. |
| Redundancy | Choose a replication strategy that fits your needs. The options you can choose require some theoretical information however. LRS is the lowest cost option and will suffice for now and is also recommended for non-critical scenarios. |
On the advanced, networking, data protection sections a lot more options can be specified. We now leave these as is to avoid unnecessary complexity. Study these sections however so you know what’s possible or configurable. When done click ‘Create’ and the deployment will start. This will take a couple of seconds. Now you can explore your new created resource.